Saturday 28 July 2012

Screen wash upgrade

For a long while, my friends dad wanted to make something for my car. He's a welder and was keen to help out with either the exhaust, roll bars or anything.

So as the plastic washer bottle was one of the things I didn't like the look of, I drew something up to match the coolant tank.

I was really impressed with what he made!
A curved mounting bracket is a must, as unlike the coolant tank bracket, this doesn't rely on the big hoses to hold it in place along with 2 screws and would wobble on a flat bracket by its self.

One problem was how to see the fluid level? Most places only stocked the black or grey plastic type. But I tracked down some plated swivel push fittings that take normal washer hose through my local hydraulics supplier.

When I drew you the tank, I requested thick wall sides as I was going to tap a thread in there but want sure which side. Only downside is the tank is a bit on the heavy side...
Drilled and tapped the 5mm stainless slowly and carefully not to brake the tap in there! 1/8 BSP I think.

On first fit, there isn't much hose there for a good visual level check, hmmm.....

This way looks quite sleek
I had to get GD to tweak the bracket a bit as my friends dad was unable to final fit due to ill health.

As the filler cap is the same as any rad cap, I had to remove the bottom sealing rubber to allow air in through the overflow tube during use.

All fitted and looks the bollox!
 Polished filler caps are from Summit Racing.

Wednesday 25 July 2012

GD suspension Visit & ECU Mapping

Its quite a feeling when you think, so many components in bits, boxes, nuts n bolts, wires and hoses went out their door and now I'm taking them all back in one piece!
Or it could be considered outsourced labour, lol

The drive up was timed great, lovely hot weather and clear roads. Took me 3 hours with a fill up stop. Shame about the 06:30 alarm call for the locals.

I had kept the suspension soft to help bed it all in since the track day so was ready for their final setup. (part of the deal with the Euro chassis).
I had to turn traction controll off as it wasn't quite right yet and cutting in too soon... Job for a rainy day.

Andy and Meena were very complimentary on the finish I had achieved, which was nice to hear coming from them.
Using his trusty gauges he set everything to where he wanted to see it. He was very methodical and old school in setting everything up. He explained to me how very few garages set up the geometry correctly. Along the lines of not referencing the rear toe and ignoring cambers. They rely too heavily on expensive machines.
So after spending a fair bit of time adjusting things he took it for a test drive.  His comment of "Oooh, its nice and loud" put a smile on my face.
We went through some bendy roads and he gave it a good throw about (he knows those roads too well!) and was very happy about how it drove and how the steering and brakes performed. He did point out a slight dead spot in the steering that he thinks could be fixed by double checking all the Steering UJ's but its so minimal I can live with it for now while the sun is out. So all in all a GD seal of approval and thumbs up was given..... Some GD badges! lol.

I opted for the cut stainless ones. 

He does have some newer style ones that also replace the side 427 badges with (Gardner Douglas 427), but I love the look of the chrome Ford 427 ones too much.

Now that was done, I headed off to Shaun who was only 45 min's away to get the EFI mapping finalised.

On the Way I stopped off for a bite to eat and grabbed a sarnie and fuelled up. While I sat in the shade of a tree, A chap made a special effort to drive into the car park, pull up where I was parked and get some equipment out..... :) hehehe.
 Sorry if this was you, I should have made the effort to at least open the bonnet but I was laying on the shady grass bloody knackered from a late finish the night before and a 06:30 start with a 3 hour drive.

So I got to Shaun and we started with a few drives to see what was what. I mentioned about a misfire at about 4500rpm under full load. Initially he changed the map areas as we drove and did a few drives with different loads and speeds to get the majority dialled in. Then came the big pulls and he noticed the bit I mentioned. So we did a data-log and found I had some interference noise as revs increased. At 4500rpm, the ECU data spiked to 5700rpm telling it more fuel was needed causing it to bog down for a split second. This was ironed out with a few highly technical phone calls to Phil and after a few more tweaks with noise filter setting we ironed it out. Turned out to be from the VR sensor in my HEI distributor. It now pulls like a missile all the way!

The aftermath of a 400miles round trip! :-D


Have to say, it was a comfortable 400 miles, no aches or pains when I got home. Ear plugs are a must though, The wind noise alone can do enough damage over that duration.

Saturday 16 June 2012

Still waiting for Sun

Its been a depressing wet summer!!
Should have built a fooking boat!

I have however managed to squeeze in the odd 3 hour slot over the past month when a bit of dry weather popped out and the wife took our toddler to see nanny.

Each time it was possibly a double "Log, email, tweak and try again" session. But we have now got quite a lot ironed out, close to the stage I can safely run the "VE Live AutoTune" function. where it will final tune its self as I drive!!! Cool eh!?

This experience tells me that those Self learning auto tune EFI systems are Bollox. Mine was initially running so rich that it couldn't lean it out that much by its self as it was off the gauge. You need to get the basic settings right for things to auto adjust.


Anyway, Back to Goggling Sun dances & chants....

Sunday 3 June 2012

Bit of a polish

Now its all back together, it needs a good clean and polish.

Using the green window cleaner and a microfibre cloth, I was able to clean the whole body streak free as it was raining outside. I found this quicker and better than water as it wasn't muddy nor really dusty. But it had finger marks and general indoor dust.

I then bought some Autoglym stuff at Halfords as they must have had a "shit summer lets get rid" sale on cleaning and polishing stuff.

 Using Super Resin Polish, then Autoglym Extra Gloss Protection did this!

Extra Gloss Protection left on over night.
buffed off....
Having used Zymol (Lovely banana smell to it) and having used some Carnauba waxes, I have found the Autoglym stuff to be a fair bit better. Lot less white residue and powdering to chase about. Not saying its miracle stuff just that there was a slight improvement with Autoglym.

Friday 11 May 2012

MS2 Learning Curve!

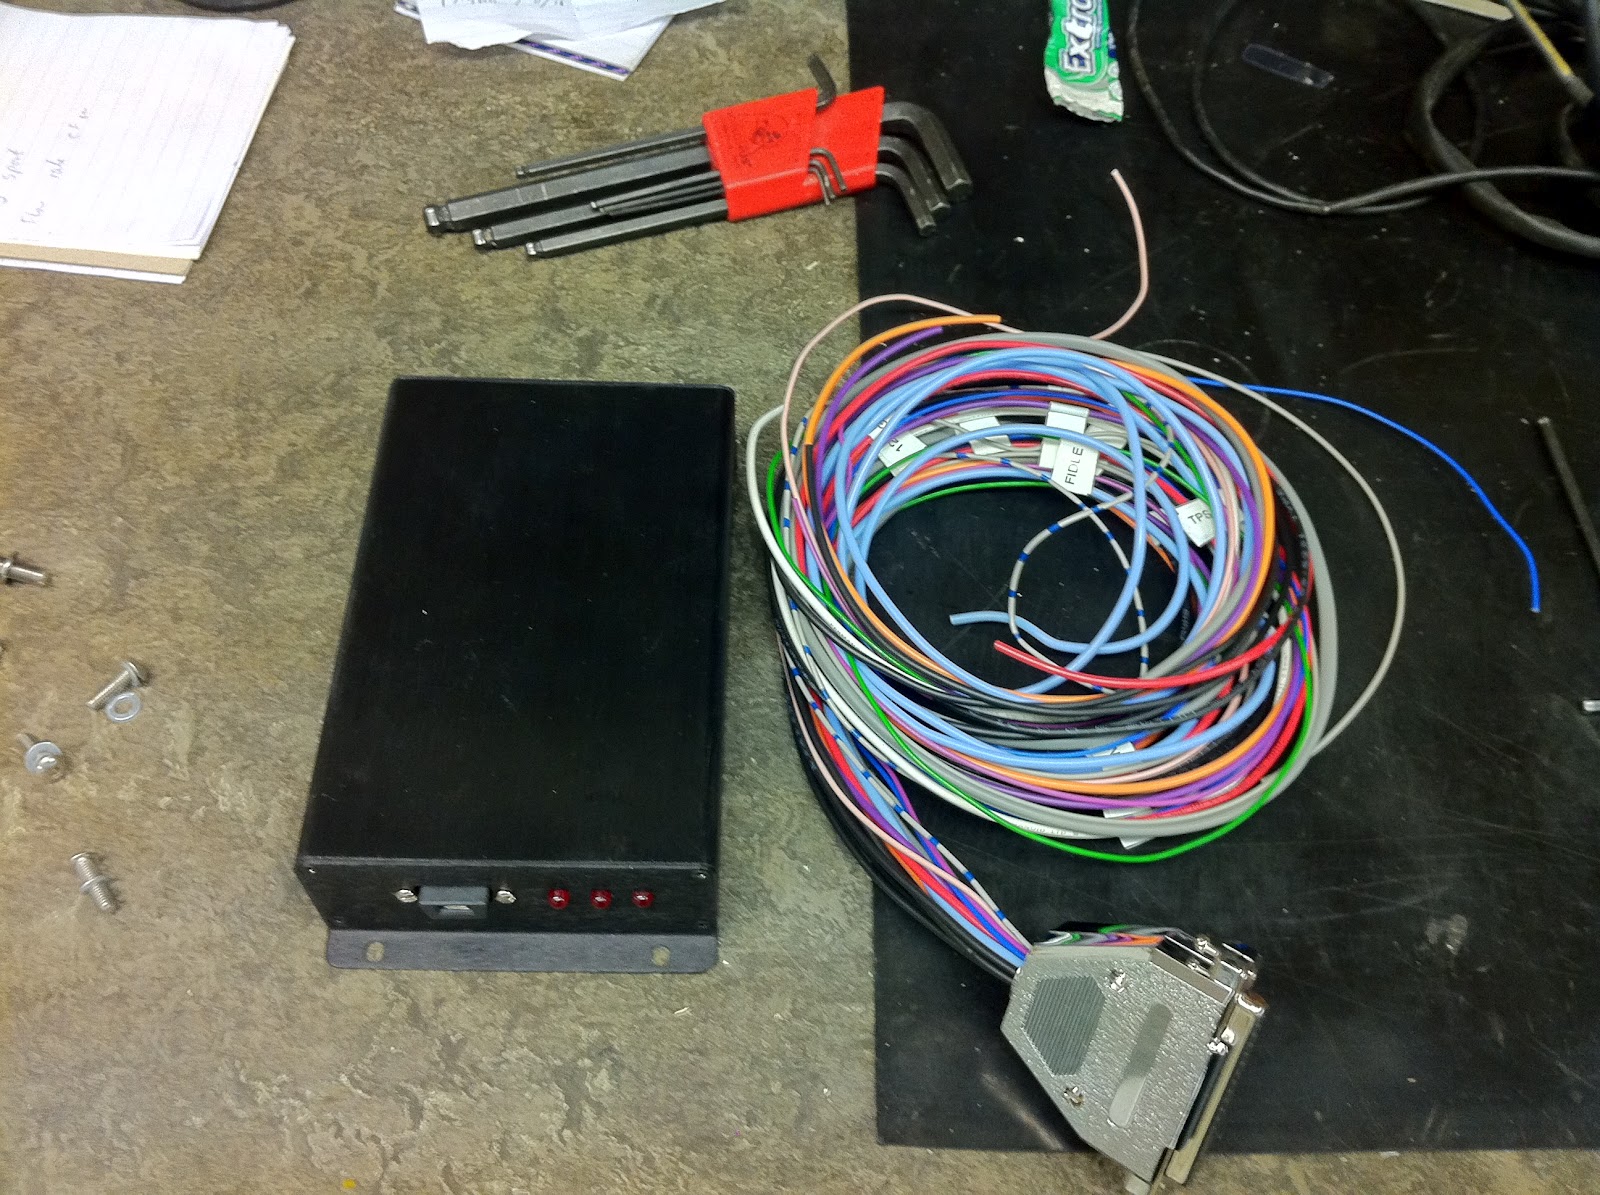
Well the ECU is fitted (May) and finally got it to a point of starting the car.....Plenty of head scratching with the wiring, but that was me trying to splice into the old loom.
 
Mini USB fits nicely. But you must use the one supplied or one that's well shielded and is wired through a magic plastic bottle cork thingy!....Otherwise you get connection drop-out from interference.
As its laptop based now and I opted for USB connection its quite amazing how many settings there are! MS2 can be used for any engine, 4 pot, V6, V8, V12..... You need to set everything to match your system and calibrate sensors & injectors. You need to have some idea about AFR, fuelling ratios and ignition advance as mine were all way off out of the box!

Each dial is configurable to whatever info you want to see. and there are different screen layouts to tinker with.
My brain is being fried even more now. And now engine wouldn't start!

One thing that I found frustrating it that lots of instructions online are based on using the Megatune software. I spent a long time reading these while waiting for my ECU to be made. When it came, it uses another program called TunerStudio and said MS2 Extra isn't compatible with Megatune..... great!
Much superior apparently but completely threw me and I lost enthusiasm to try and reinterpret the 2 different settings. 
 
Tony M from the cobra club was kind enough to come down and try to get me running as something didn't like me. It turned out it didn't like him either, lol, sadly there was something underlying that we couldn't find. It would start and then die after 5 seconds! So back to the drawing board.

I got back in contact with Phil who built the ECU (Backup I wouldn't have had doing a DIY ECU!) and he was very helpful in trying to get me started
It turned out I had 2 components used from the last ECU that didn't like my new setup amongst me not understanding some of the instructions.
Hall effect sensor in the dizzy, and my ignition amplifier.
A few wrong settings in the software and it didn't like these. I also managed to cook my ignition amp while confusing myself with 2 wiring diagrams. With both of these sorted, VR sensor in dizzy replaced the Hall sensor and a new amp. I got in touch with a chap who tunes MegaSquirt professionally! http://www.v8developments.co.uk/
Something I hadn't found for ProFlo!!!

Once I had fixed the bits and corrected some settings, we got the car running after 2 emails!
The first couple of runs threw up another problem. above 50% throttle, the engine would buck and then die.... Both Phil and Shaun thought it was a power issue to injectors or coil, or even a bad ground. Quite a few checks later I eliminated it being the ground, added a shielded wire to the VR loom (reduce possible interference, and checked injector power with a bulb that was indicated they were firing just after engine died. On a data log it was recorded as I slowly accelerated that it was over fuelling so much that it killed the spark!!! So Some more adjustments by Shaun were made to lean it out a little......

The beauty of MegaSquirt is once its running, you can do a data log and email it. Shaun the chap who has been helping me has done so via emails. I data log a run, send it to him, he changes a few things, sends it back and I log another run and so on.... Just got to wait for some dry roads as the runs I need to do, are to hold the revs at say 1500rpm with the brake pedal and give it full throttle for a few seconds, try and do this at varying RPM's and also again at 50% throttle.

Now its still pissing with rain, I'll have to wait for some dry roads! WOT + Brake pedal = !!!!

Saturday 21 April 2012

Traction Control....Really???

Don't get me wrong! The car is solid on the roads and track. My capabilities are surpassed by the cars abilities! I'm only doing it because I had acquired a RaceLogic Traction control system a while ago.
As its here, lets see what advantages it brings? If nothing else, it will mean more fun on the track. :-P

Because it wasn't essential to fit to get the car on the road, it stayed in a box.... Until now. ECU upgrade is an ideal time to fit it. Injectors had to be interrupted in the loom.


I will keep updates here as to how it performs. It wires up in paired injectors as its for a 6 cylinder setup. (2 wires left free) 
If only RaceLogic would upgrade it to 8 but it isn't possible apparently..... I'm not going to fork out £850 for a new unit!
If it works, I'll do an article for the mag as there are people fitting PAS but not this.. It could also save your cob. I have spent over 35K on this build and the addition of a safety net cant' be such a bad thing? But let's get it working first. :P

 
 As the New ECU wont fit in the old space, the TC does.
4 wheel sensors had to be fitted. There are spare holes in the front hubs and simple brackets were made. A max 2mm clearance is recommended!!
 Rears were aligned with the teeth on the drive shafts with simple brackets to the chassis.
 Same both sides
 The selector dial was renewed and using my favourite stuff (Dual-Lock....wish I had shares...) I mounted it on the Ali undertray. I can fix it like this or unhook it and lay it flat well out of sight. 

 Lots of bits everywhere as I have about 6 jobs going at the sane time. Oil filter spacer, coolant sensor, ECU, wiring, TC sensors, Dash leather tweak, couple of oil leaks to address......


Carnage!


As well as my wife saying "I thought the car was finished?" try explaining the difference of it being on the road and it being finished!

Saturday 7 April 2012

coolant leak fixed

On one of my maiden drives post IVA, it was pointed out at a petrol station that my car was incontinent.....

Coolant was pissing out where the fan thermostat probe fits between the header tank and coolant hose. It was sealed with silicon but a few drives after IVA it gave out. Temporary fix was another hose clamp. That worked fine and a fix was added to the to-do list.
I bought a fixed temp switch (87c) at Stoneleigh and a hose joiner with fitting for the switch. I had to tap it out to take the thermoswitch and machine the face down so the switch head was in the flow of coolant. (Switch was 10mm deep thread, bracket mounting face with hole was 25mm thick) Machined the face down to 7mm and fitted it all in.

I did look at the Revotec variable type, but was put off by the extra wiring loom or modification needed to upgrade to it. This one was plug n play.

Saturday 31 March 2012

Slack leather.

As things settle and move during shake down drives (first 500-1000 miles in my eyes), a couple of things have niggled me. One was the passenger side of the dash. After a crisp winter I noticed some ripples had appeared.
 I tried to moisten it and shrink it with a heat gun but that didn't work. So, as I have had to pull it out to get the ECU bits done, I decided to tackle this. I had to pry the leather off the glued bit with a sharp blade.

Pull the ripples out by adding a bit more tension and re glue. Bit of a pain, but no more ripple niggles (try saying that fast :-P )


The gear shift gaiter was the next niggle, I had used the screws to hold the leather in place, but one side came loose and I could see a bit of gearbox.


So I glued the leather to the stainless.

Saturday 24 March 2012

Oil catch tank & Filter spacer.

As it was out of action and I awaited some bits to arrive, I decided to take a look at my catch tank. Oil was being blown onto the rocker cover and alternator. I soon realised there was nothing inside to collect any vapour, no baffles, nothing! So most of it was going in and straight out.


 Using some scraps I had laying about getting hooked and caught on things, I Heath Robinson'ed it! Bit of hose to direct the vapours away from the outlet. I could have used stainless scouring pads instead. I'll see how this works for now.


 Time will tell.

Next was the Oil cooler spacer plate. The oil cooler supplier sent me the wrong one origionaly but I made do as it worked. But it mounted the oil filter about 5mm from the exhaust. Pull exhaust off to remove filter!!! Not great but I wrapped it in insulation to get me past the IVA. Anyway, some months later and plenty of emails chasing it with break down in communication between themselves, GD eventually gave them a kick and I got the correct one through.


ECU Upgrade

Lots have been going on, so time for an update!!! (FEB-JULY)

I finally decided I had had enough brain melting trying to get the car tuned with the out of date hand module that came with ProFlo that no one knew how to use correctly.

Speaking with a few people I decided to go for MegaSquirt 2 Extra. Built professionally by Phil at http://www.extraefi.co.uk
You can buy these as a component form to DIY build but I have read of so many issues with fake kits or not what you expected or ordered. So got a pro to make it. He also helped me get the right bit of kit for my setup.
I also had to upgrade to a Wideband O2 sensor as ProFlo used a narrow band. Basically the old O2 only worked in a small range so couldn't tell if it was very rich or very lean, unlike wideband.

So out it comes.

 Yes, that's the unit I had to use to use to tune all the parameters it allowed! Thanks to Robert for setting it up initially on the Dyno at EDA, otherwise I wouldn't be driving it.


MS2 unit and loom

Plenty more reading, wiring, head scratching and Cider'ing

As I was busy working, I had little time to get stuck into it. So spent many lunch breaks working out the wiring from my old setup to the new loom via wiring diagrams. I wanted to chop the old connector off and splice into the existing loom with the new connector.
I didn't get a chance to take pics of the loom splicing as time was precious and I had to crack on.
Basically I used 2 Sub D connectors to join the 2 looms rather than joining the wires direct.
 
MS2 in its new home. As its a bit thicker, I had to mount it under the middle of the dash plates. Dual-Lock by 3M. brilliant stuff!

Friday 17 February 2012

Gearbox Mount made of poo

While the car is up on axle stands, I thought I'd top up the gearbox oil as it has has a little drip and some leaked out when installing. I had to use a jack against a spanner to undo the filler bolt. Jacking up against the spanner to undo the bung I witnessed the whole gearbox drop down and clonk the chassis once the thread of the bung broke loose! Weird I though, there was plenty of clearance when I installed the gearbox mount!?

On closer inspection, the mount had sagged 5mm, and this explains the clonking I sometimes got on deceleration!
 Cheap shite I didn't even think about when installing!

A little pressure added tightening using one finger on the vice handle squished it by 5mm

Above is where my gearbox sat on that mount
as you can see not much was needed to make contact.

After a bit of searching for poly mounts. I found one through Topspeed Automotive who managed to get one in in a couple of days! result!


You can just see, it rests nicely with enough clearance and as the mount is solid poly it doesn't compress anywhere near as much.